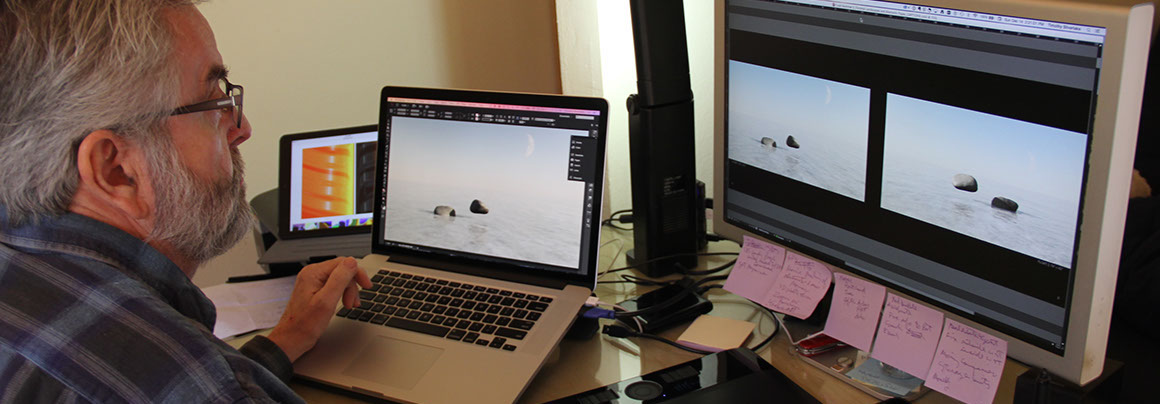
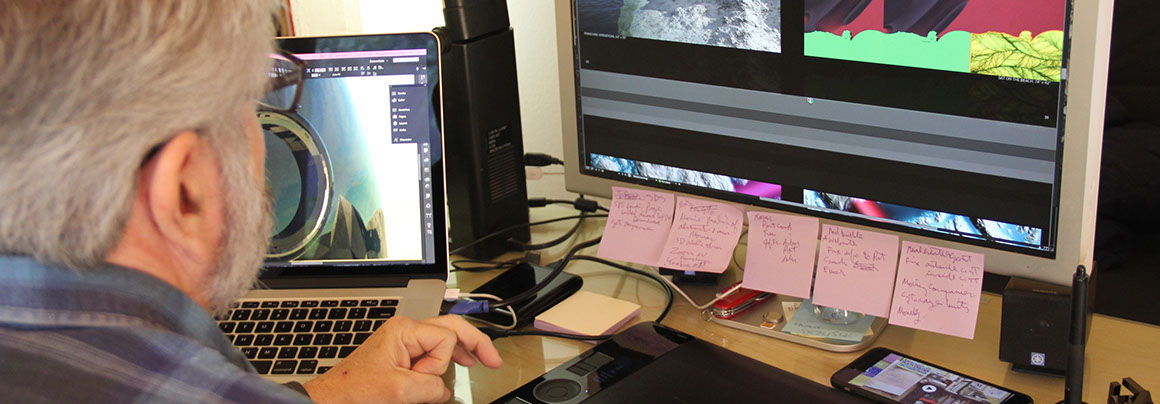


Two screen main workstation with tablet for additional reference.
Working on the layout for "Lost Swimmer".
It used to be Winsor & Newton and sable brushes now it's Adobe's CC.
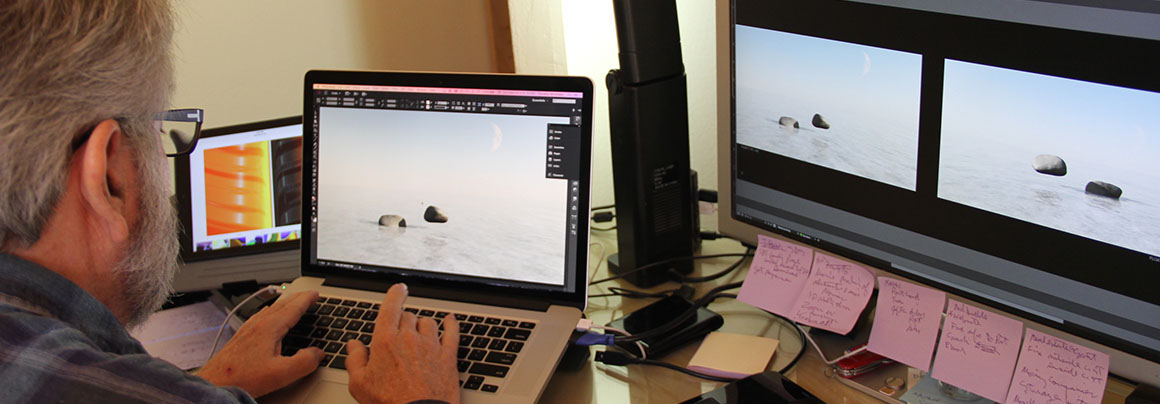
Adding images from the CYCL Series to "Lost Swimmer".
Reviewing the page sequence in "Lost Swimmer" to transition between Fictional Landscapes and Abstracts.
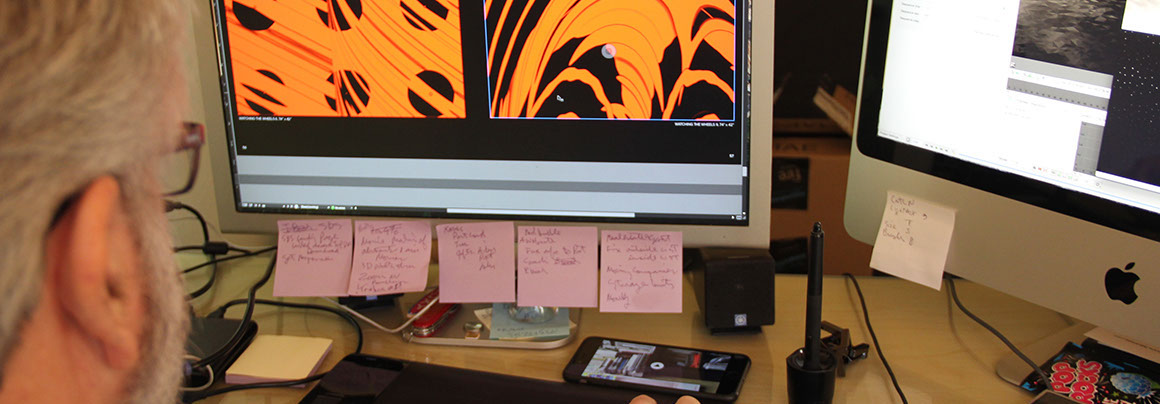
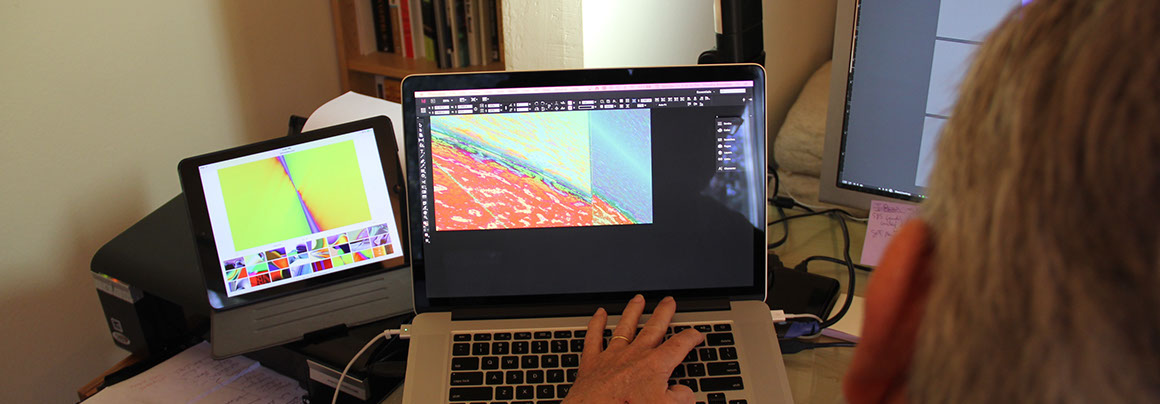
Deep into the Abstract section of "Lost Swimmer".
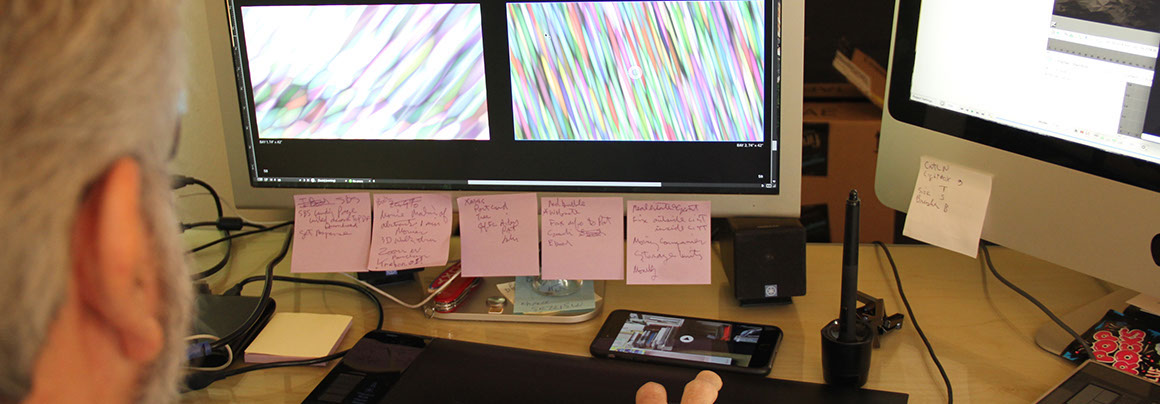
Reviewing captions on Abstracts.
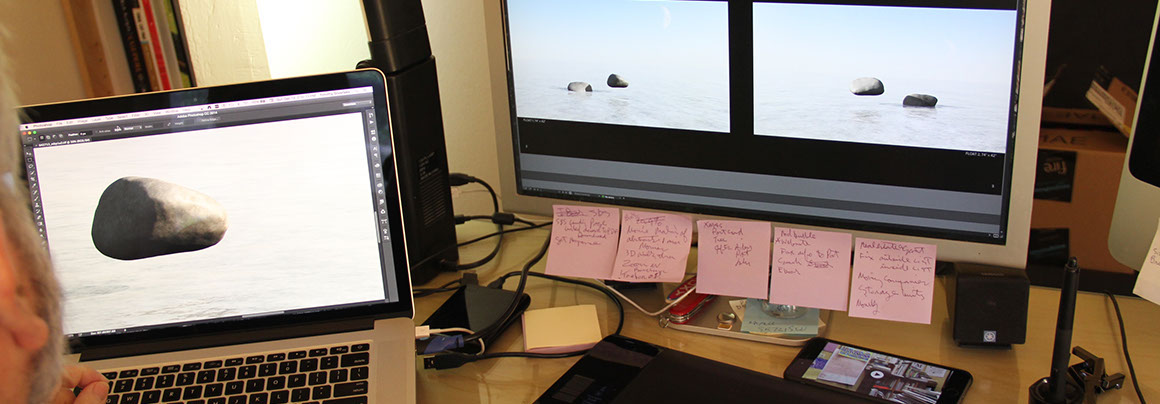
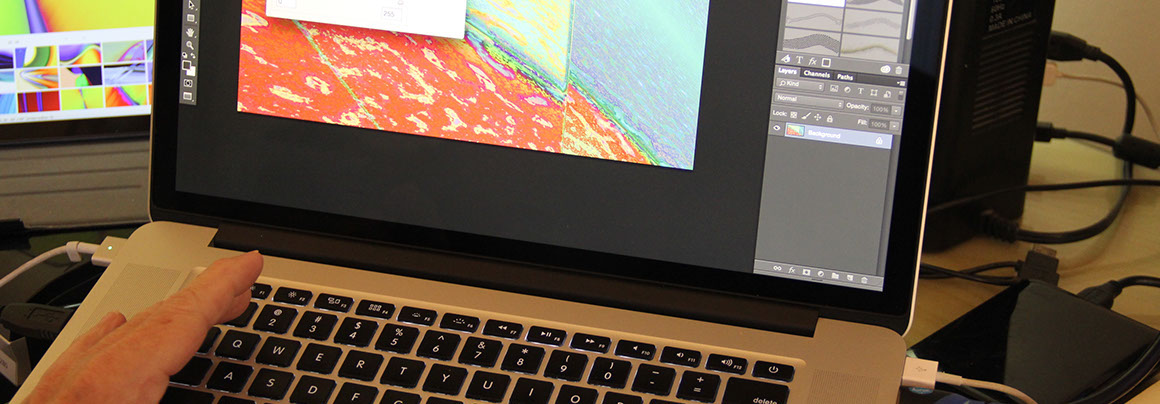
Reviewing cropping adjustments in Photoshop. Color is established during rendering. With very rare exception no pixels are pushed in Photoshop.
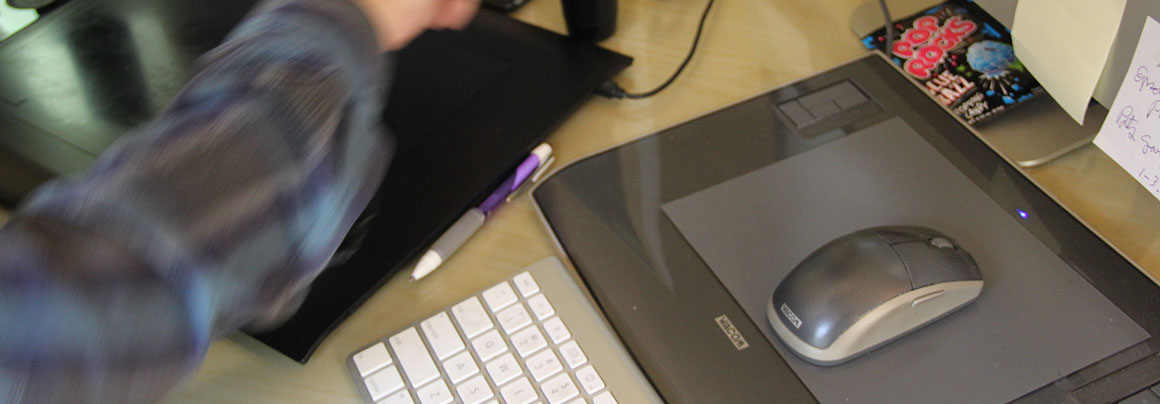
I utilize Wacom tablets on both workstations to setup and manipulate CGI software before rendering. Pop Rocks are optional.
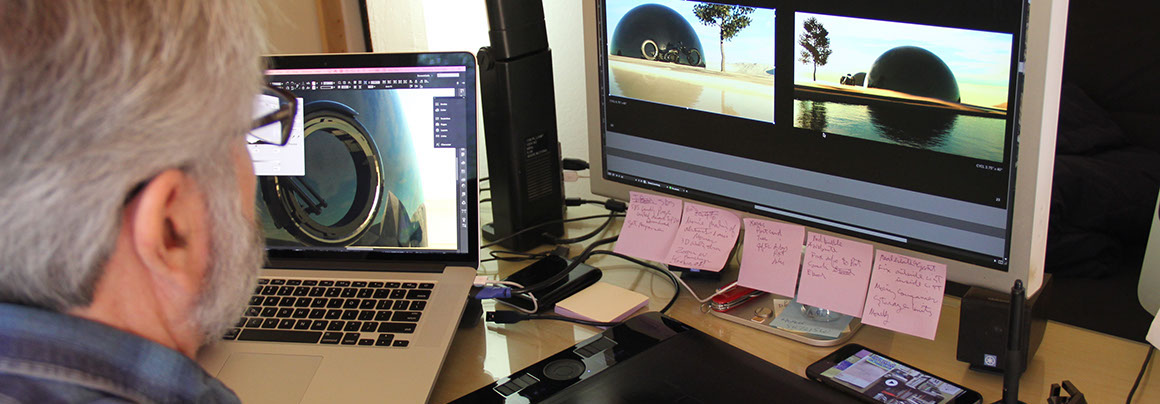
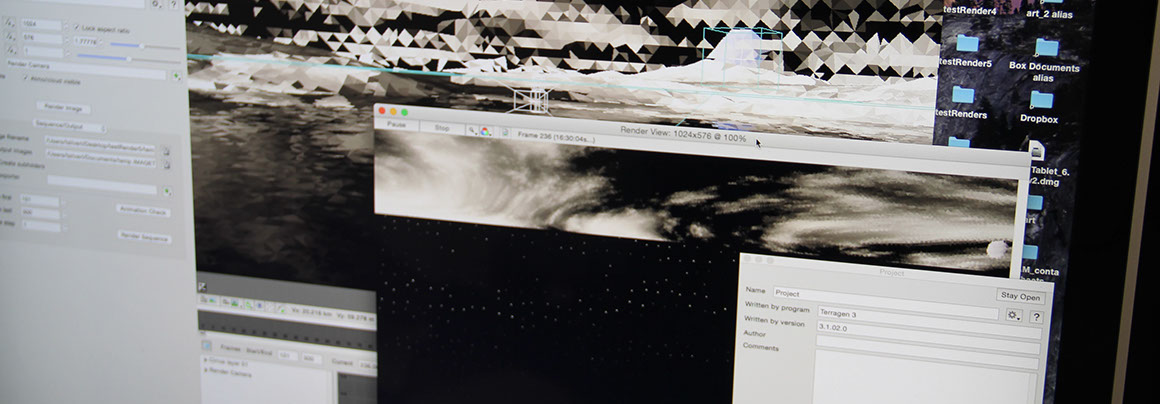
Test rendering a CGI landscape to find the right look and feel before committing to a full resolution output.
Back to InDesign to adjust an Abstract layout and crop.
Review, adjust, and review, and adjust again.
Final image check. Coffee break...
<
>
Studio
Fictional Landscapes
I produce my work by first generating a 3D digital environment. These environments include natural elements; water, land, atmosphere, lighting and, often times, figures and objects. Once an environment is setup I travel through it capturing viewpoints that strike me. Each point is proofed to the screen multiple times, and each time adjusted, until I reach an image that is rendered. This is sent to my print service provider for proofing and output with archival inks on paper. Scale is usually a minimum of 42 inches in the smallest direction and up to 60 inches in the largest direction. Normally my art work is face-mounted on anodized aluminum and with non-glare lexan.
Below is a brief description of the process of creating my landscape artwork.
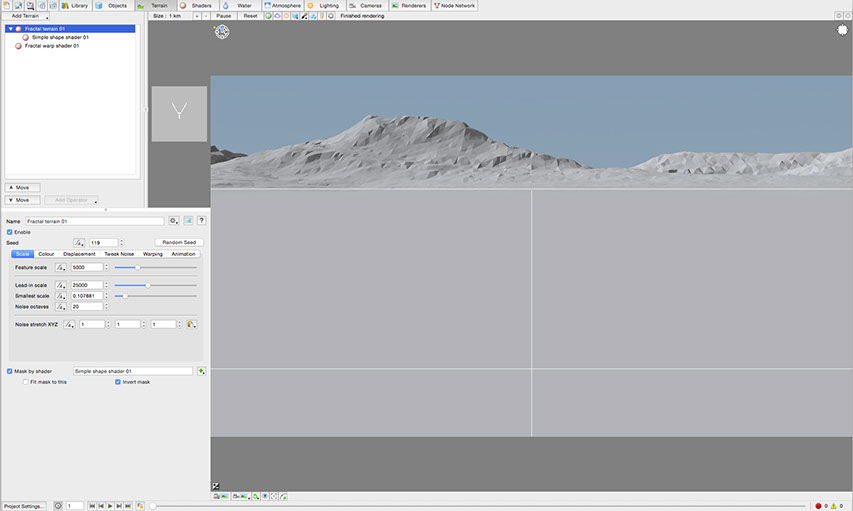


Most landscape paintings begin with a blank screen and a simple horizon line.
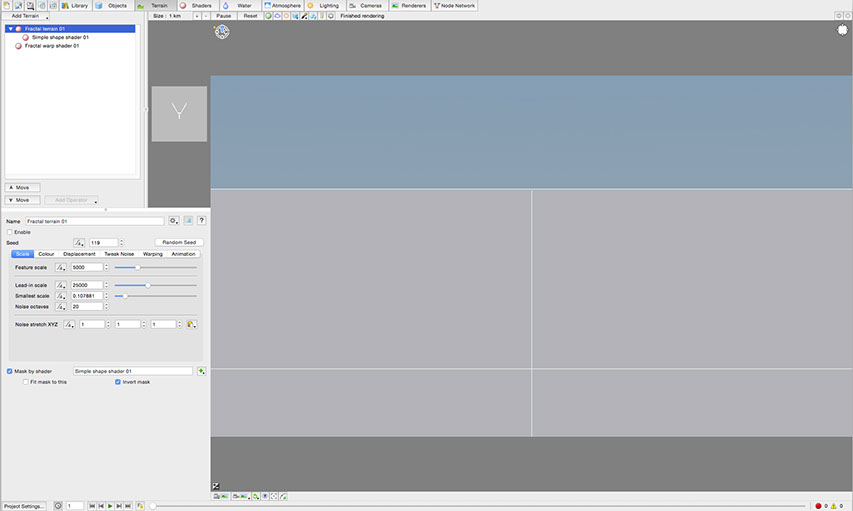
Add terrain. I believe in simple so I start most images with a bare-bones terrain —no cliffs, no dramatic canyons, and no alien world rock formations.
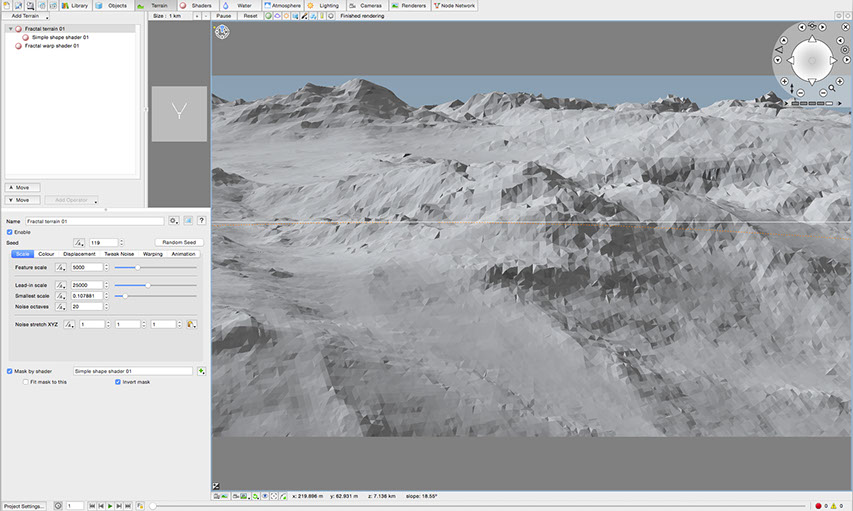
Adjust terrain. The challenge is to find the right mix of texture, height, and detail. This phase takes several trials until the right balance is achieved.
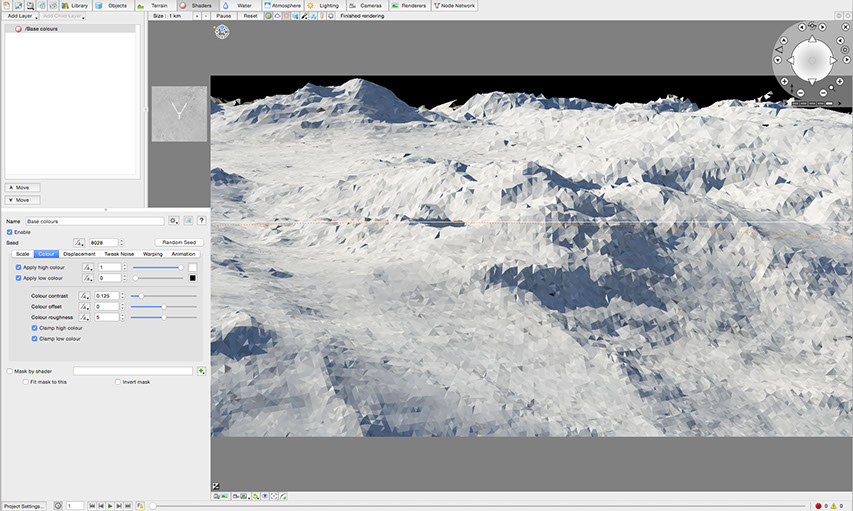
Adjust color. There is something attractive to me in a near monochromatic color pallette. I generally prefer to begin with a cold terrain. Working with a narrow pallet allows me to see the shapes and forms.
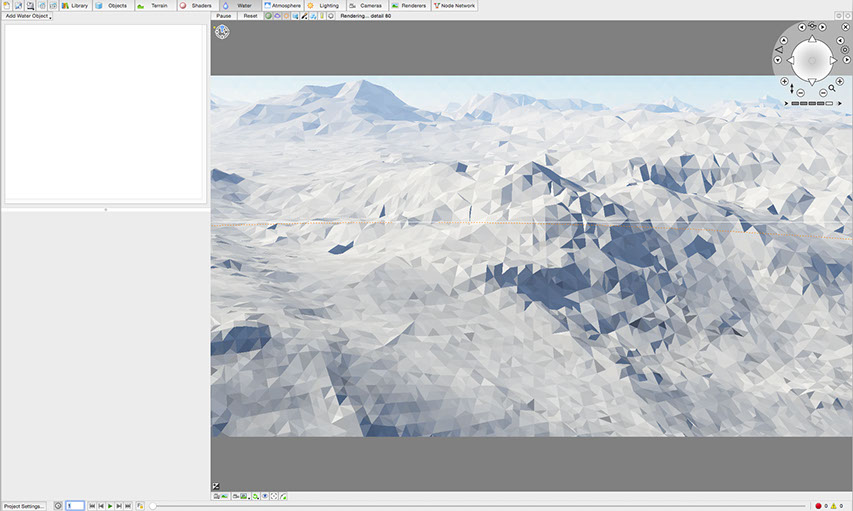
Add atmosphere. With the addition of atmosphere mood starts to come into play.
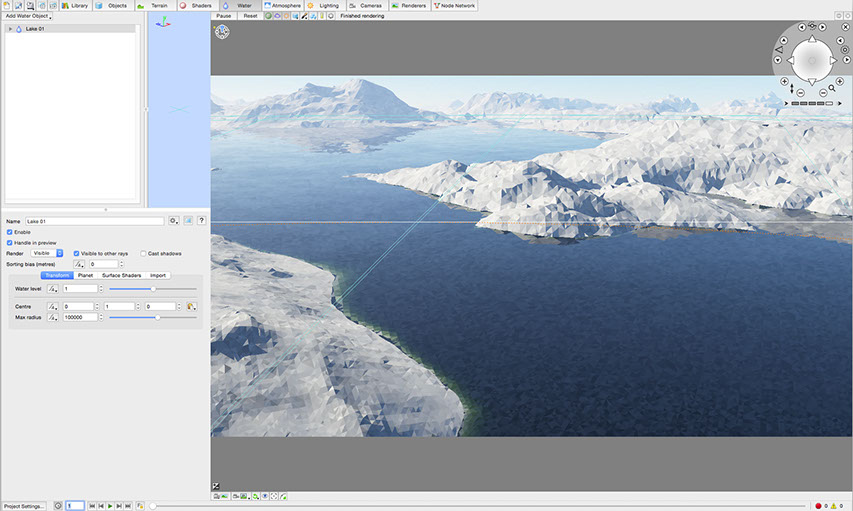
Add water. Water changes the game again and begins to bring reflections and a subtle color shift into play along the edges of terrain and water.
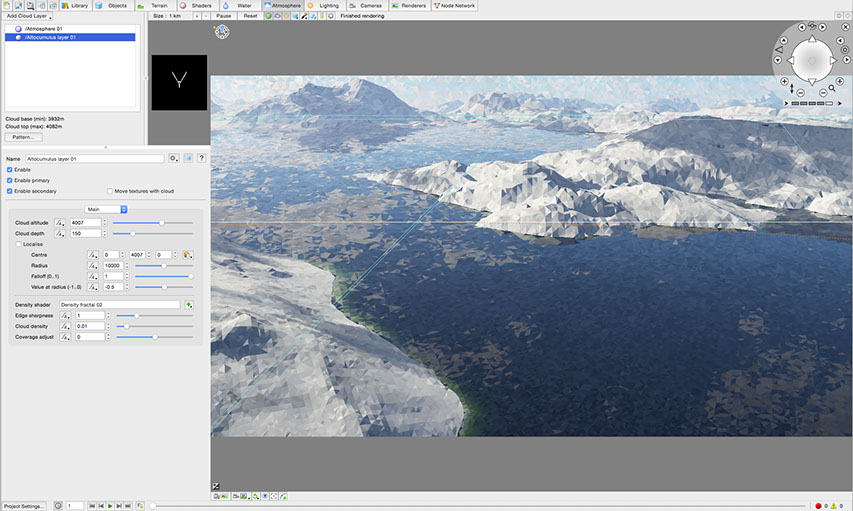
Add clouds. Clouds thin, thick, high, low, and hazy change the tone of the image again. Shadows and perspective are altered with each variation.
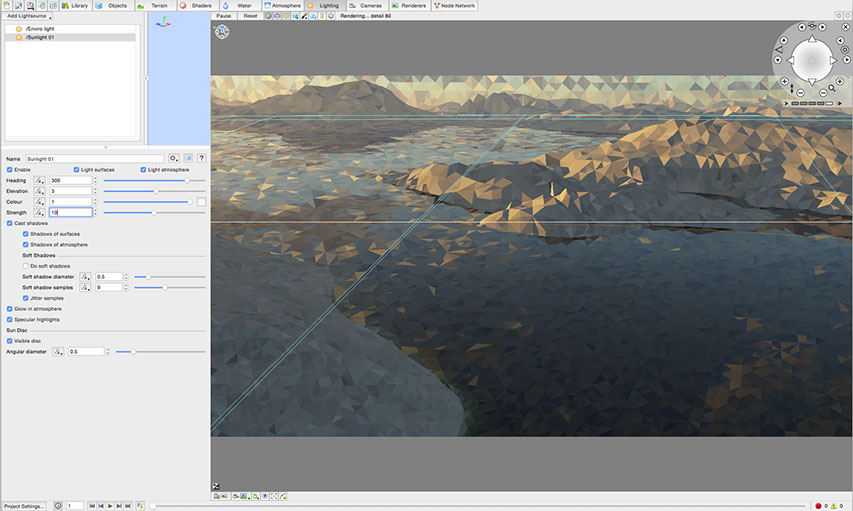
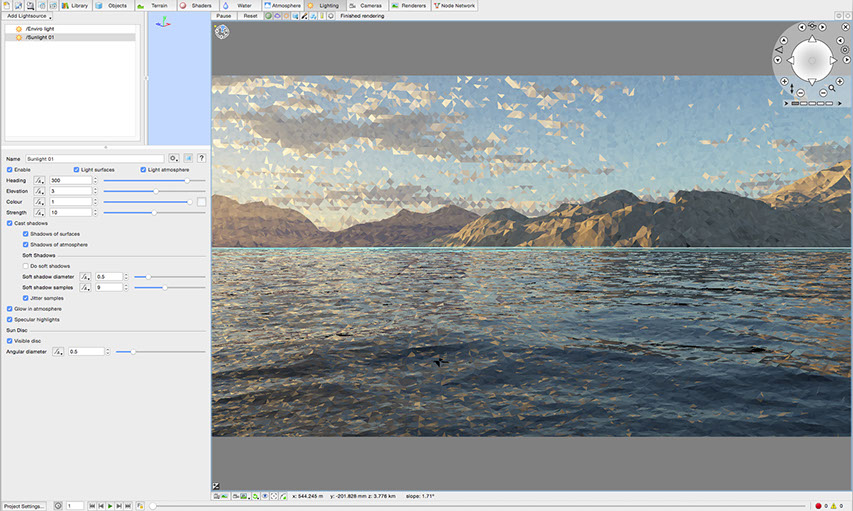
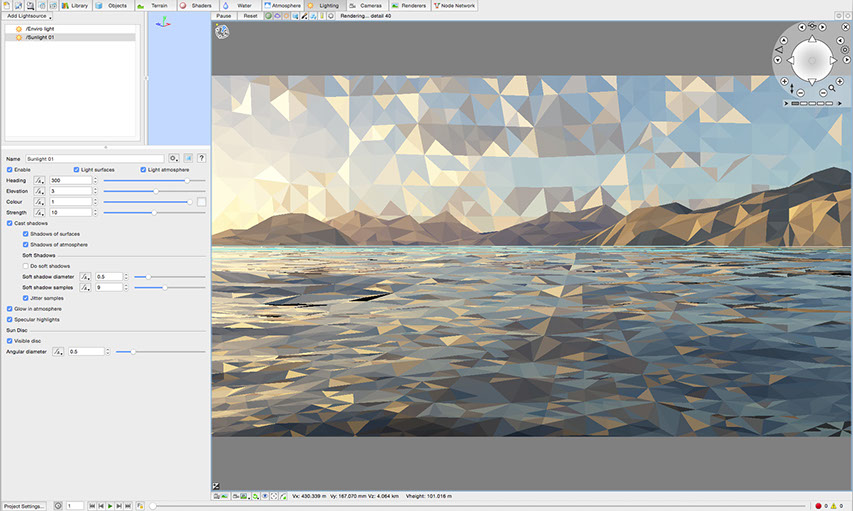
Adjust sunlight.
Move through terrain and choose view.
Adjust elements.
Quick test render.
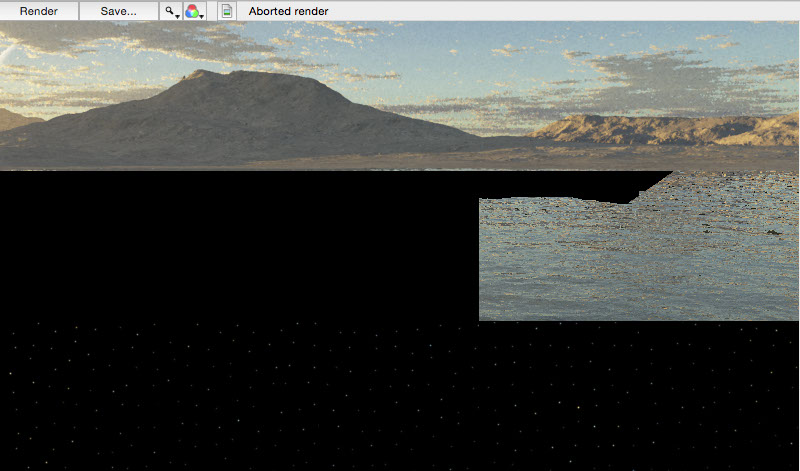
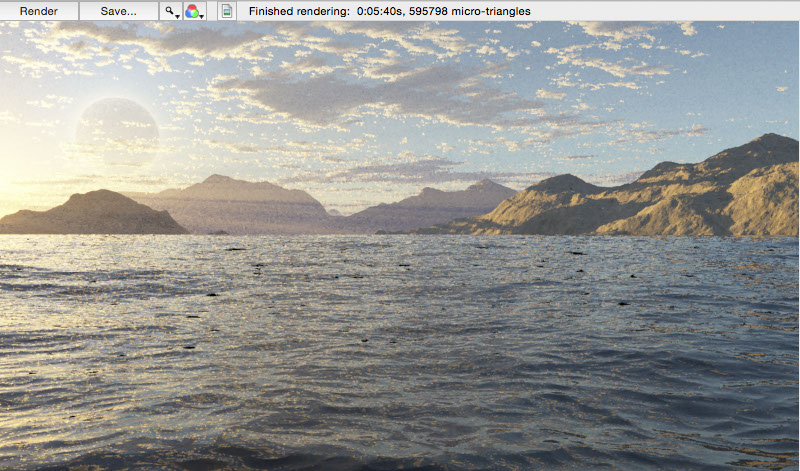
Render (partial) to test spacing, lighting, and overall feel.
Render and adjust elements.
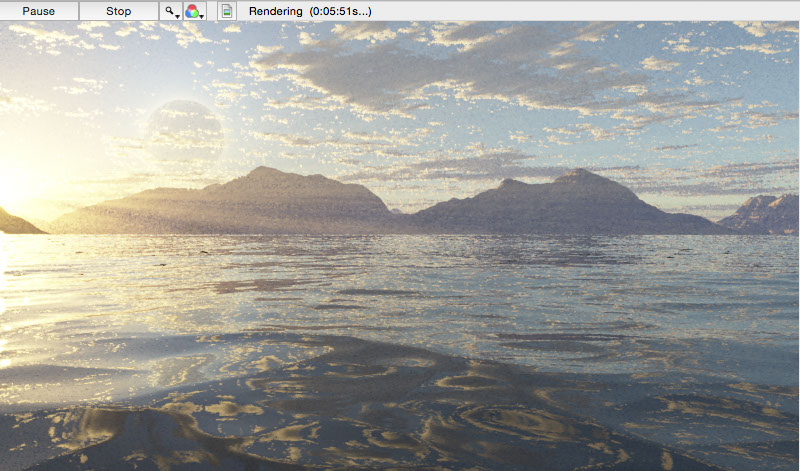
Render and refine elements.
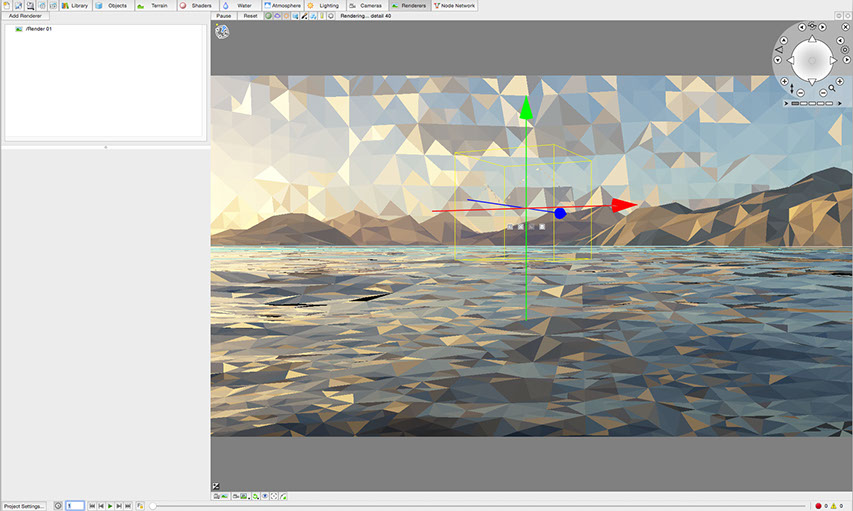
Adjust camera position.
Adjust camera height.
Render to adjust overall feel.
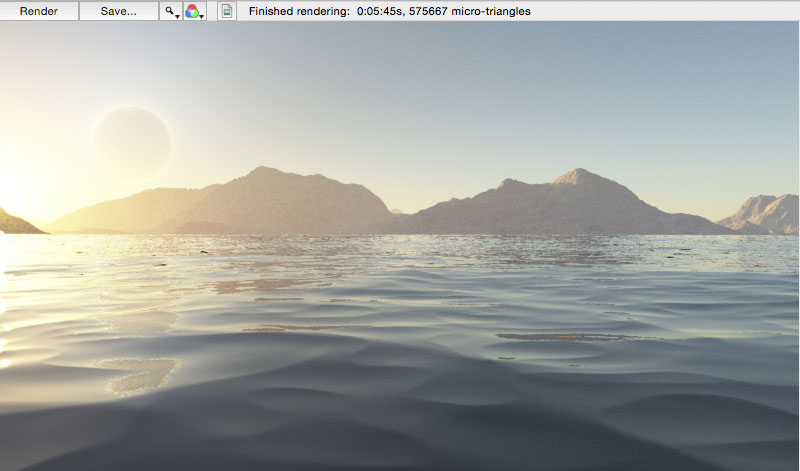
Bracket render without clouds.
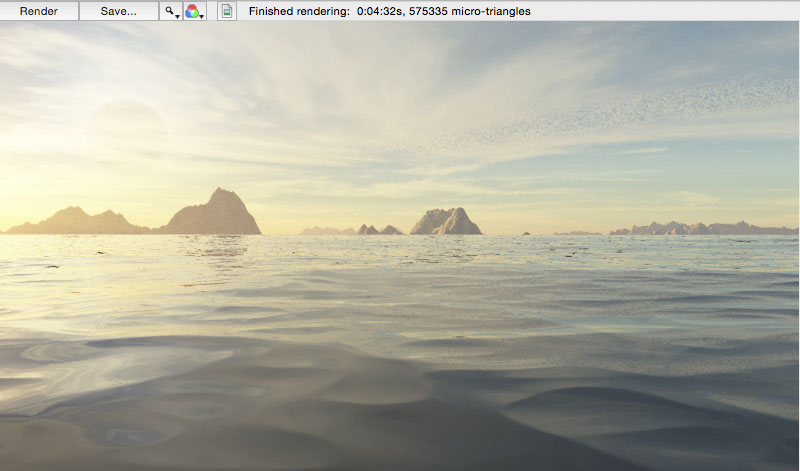
Bracket render with alternative terrain.
Adjust atmosphere settings.
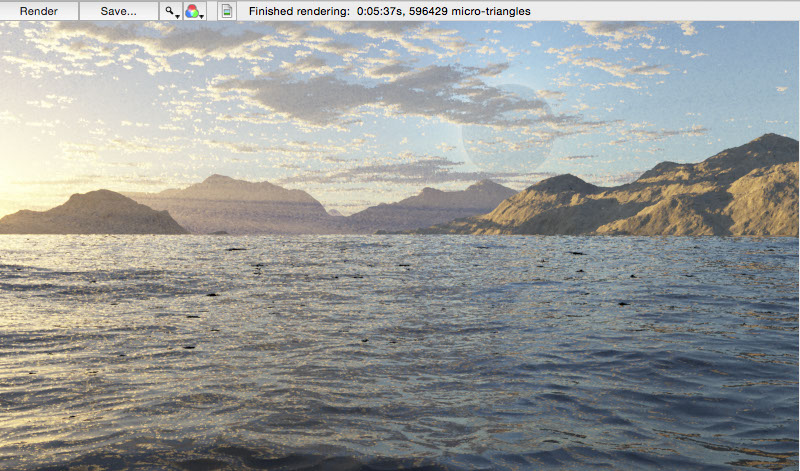
Quick render to review all elements and overall image before final high resolution render.
Final rendering takes several hours and creates a high resolution image from 12,600 to 22,680 pixels wide by 7,000 to 12,600 in height. This is the production file used for large format archival output on paper and 4K display.
<
>
Detail
Night Sky 1, 51" x 28" at 300dpi, digital production image, 2014 [mouseover to view detail]
Wireframe
Basic animated detail of wireframe construction process.
select work available
© 2019 TJ Silverlake